By default, the system allows for fields like company name, address, postcode etc., however you may have more, possibly niche, information you would like to add to your data.
CRM Custom Tab Customisation allows you to add extra fields to Salestracker to store whatever information you like. You can add the following types of fields to your records:
- Tick boxes – for representing multiple selections from a set of values (e.g. 1, 2 and 3 but not 4).
- Radio buttons – for representing one selection from a set of values (e.g. 2 but not 1, 3, 4).
- Drop-down menu selection – also for representing one selection from a set of values (e.g. 3 but not 1, 2, 4).
- Plain text – a number of single-line text fields, up to ten lines (per section).
- Links – add a number of web addresses to external websites, up to ten links (per section).
- Internal Links – add a number of links to other Salestracker records, regardless of database, up to ten links (per section).
- Notes – add a plain text notes section (for storing larger notes).
- Date – add a date (past or present).
Adding custom sections will add a “Custom” tab to the record view.
How to Customise
Please note that this part of the tutorial only applies to users given advanced manager permissions on Salestracker.
First, go to “Preferences” at the top right of Salestracker. From the accordion, click on the “CRM Custom Tab Customisation” heading.
![]()
At the top of this section will be a series of options – click these to add field sections to your My Data.
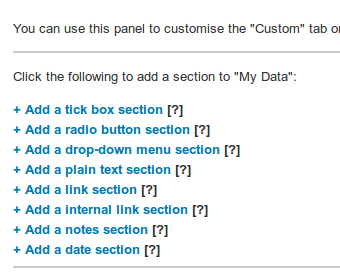
Follow the steps outline below and then click the “Save” button at the bottom of the section to save customisation changes.
Adding tick boxes, radio buttons and drop-down menus:
Click the section you wish to add. You will see a box like the following appear underneath the options, like the following image.
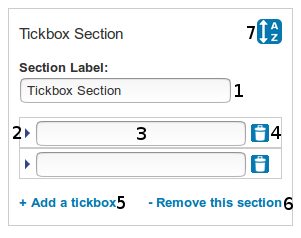
- Label section – enter a name for this section here.
- Fields – add fields to this section here. The blue arrow next to each box can be clicked and dragged up or down to re-order the fields.
- Field area – enter the value for this field here.
- Delete button – remove this field.
- Add link – click this to add a field to this section.
- Remove link – click this to completely remove the entire section.
- Re-order alphabetically – click this to re-order all the fields alphabetically.
You can add as many sections and fields as required. An example of these sections filled in can be seen in the image below:
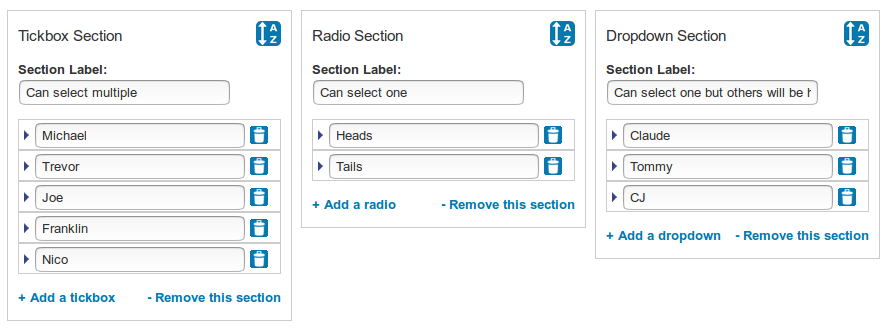
On the record view it will look like the following image:

Adding text fields, link fields and internal link fields:
Click the section you wish to add. You will see a box like the following appear underneath the options, like the following image.
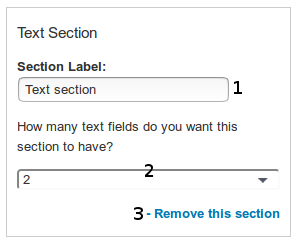
- Label section – enter a name for this section here.
- Fields – select the number of fields you want for this section here.
- Remove link – click this to completely remove the entire section.
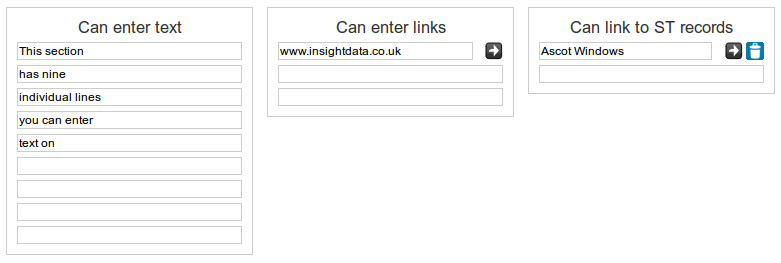
You can add as many sections and fields as required (up to 10 fields per section). An example of these sections filled in can be seen in the image below:

On the record view it will look like the following image:
Adding note sections and date fields:
Click the section you wish to add. You will see a box like the following appear underneath the options, like the following image.
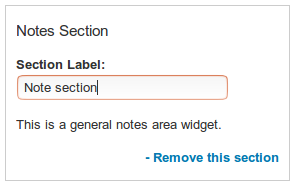
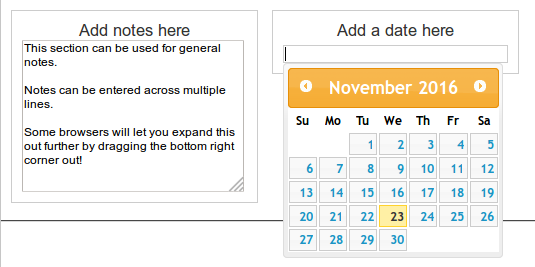
These sections simply require a label to be added. This is what they will look like on the record view:
Mixing and Matching
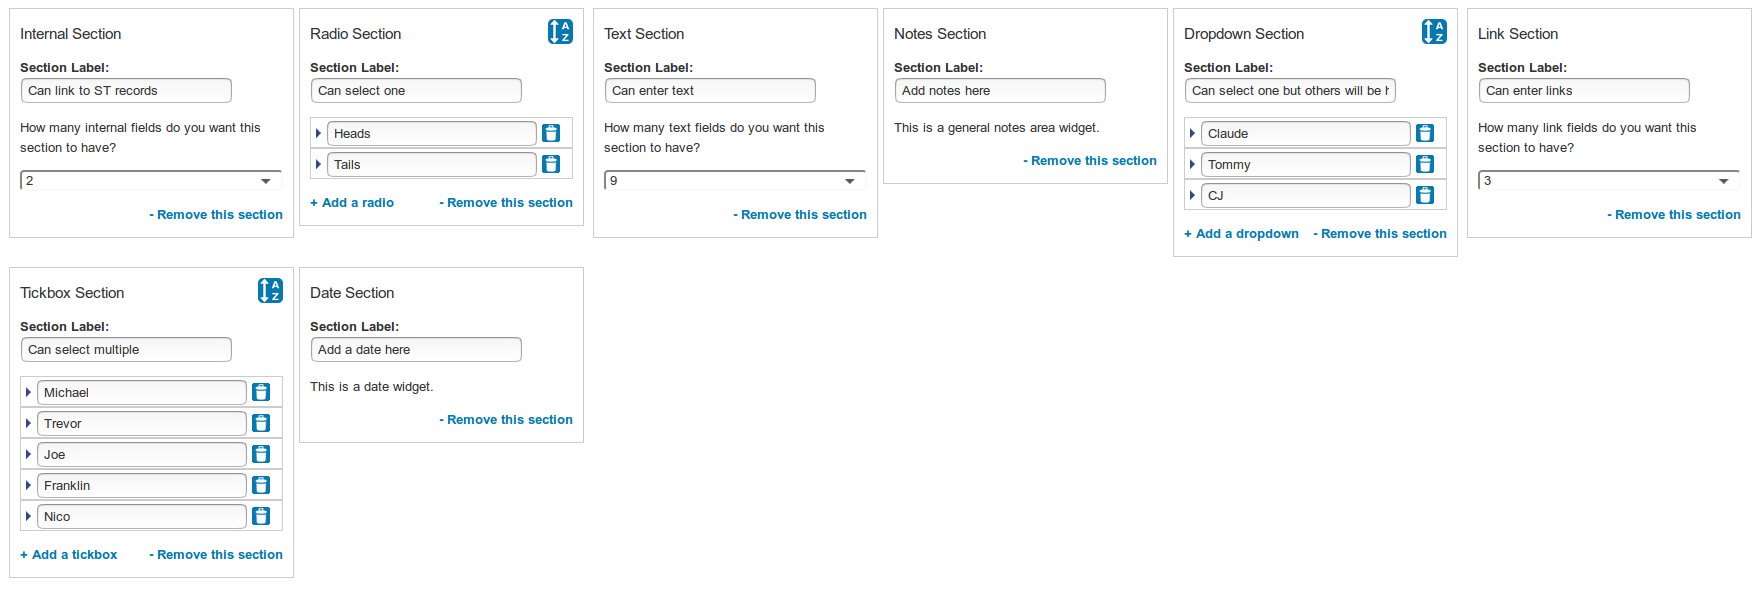
You can have as many of each section as required, in any order. If you only need one type of field, that’s fine! While editing you can also click and drag the sections to re-order them.
Customisations on the Record View
All customisations will translate through to the record view, allowing you to add extra data to a record. If you open a My Data record, you can see customisations under the “Custom” tab on the record.
![]()
If you have no customisations then this tab will be blank. If you do have customisations, they will be representative of what you configured under preferences. Just add the data you want to the tab and click either of the “Save” buttons to store it.

Customisations in the List Builder
One of the benefits of customising My Data records is the ability to generate a list around your data. Any tick boxes, radio buttons, drop-down menus and dates you add to the system are considered to be “filterable criteria”, which means they get added to the list builder automatically.
Selecting “Build a List” from the main navigation, you can select “My Data” from the “Change database to build list on” drop-down.
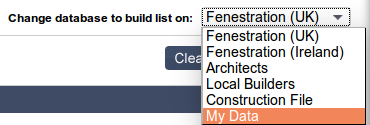
If you have customisations that contain any filterable criteria, they will be reflected on the My Data list builder.

Please note that the “selection type” changes the behaviour of the list builder; “OR” will attempt to match all fields selected, “AND” will attempt to match criteria between sections. For example, if we ticked Michael, Trevor, Heads, Claude and Tommy and then changed the selection type…
- OR = Michael OR Trevor OR Heads OR Claude OR Tommy.
- AND = (Michael OR Trevor) AND (Heads) AND (Claude OR Tommy).
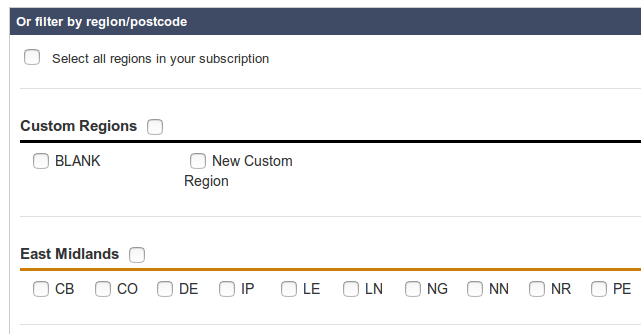
The My Data list builder also contains geographical filtering like on the other databases. As well as the usual region/postcode selections, the My Data list builder will attempt to pull in any “custom” regions based on what has been saved on My Data records. Records with empty regions (ones that have not been filled in) will be classed as “BLANK” regions on the list builder.
Exporting Custom Data
Custom data you have entered can also be exported. When exporting any list, you should see the following option in the export options box:
![]()
Tick this option and your custom data will also be exported. Please note that export performance is directly tied to the amount of data being exported, so the more customisations you have the slower the export will be when ticking this box!


